Navigation auf-/zuklappen
Assigning a Contact to a Group
There are several ways to organize your groups in your Contacts. You can assign contacts to groups or fill already existing groups with your contacts.
How to assign an individual contact to one or more groups
-
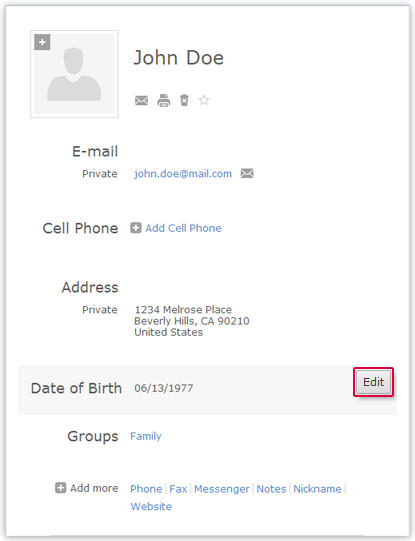
Hover over the
Groups section in the contact view (on the
right) and click
Edit.
How to assign an individual contact to a group by drag and drop
Requirements:
This method only works if the contact and the group are displayed on the screen at the same time, i.e. you do not have to scroll.
- Ensure that the contact and the corresponding group are displayed simultaneously, e.g. using the search.
- Drag the contact to the required group.
How to assign multiple contacts to a single group
-
Select the required group from your list of contacts. Activating
the
Groups filter helps you find it faster.

Was this article helpful?